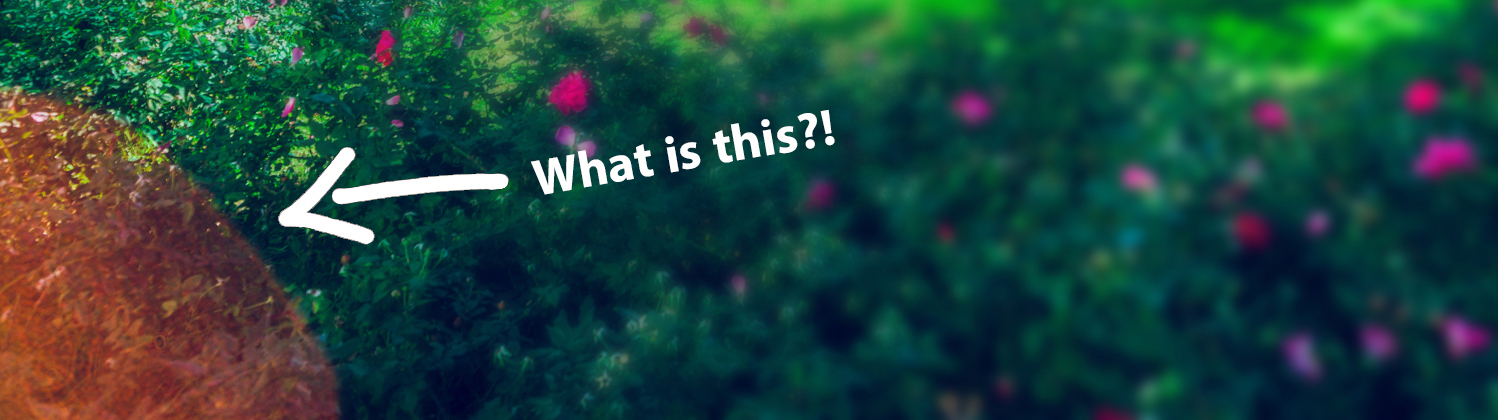
Have you ever taken a photo and then when you’ve left that location, you look at your image and see a giant lens flare that doesn’t always take a large portion of your image but is prominent enough to distract from what you were trying to capture? (I feel like that question could have been posed a little simpler)
Well, for those of you that have access to Photoshop, this is arguably easier for you but it’s not a necessity (If you don’t want to read the PS part, scroll down to the horizontal line).

Please note this is just a quick fix and if you’re looking to print or blow up an image, you might want to look into more accurate methods or spend longer on incremental changes. So this isn’t the only method, but it’s effective. (For a quick fix and for the majority of purposes, this is more than suffice, i.e Instagram, Facebook, Twitter, etc.)
So what’s this magic trick you’re so aptly building up anticipation to?!
It’s this!
The spot healing brush 
What does it do? It blends the colour and luminosity of the selected area with the surrounding area.
How do you use it? Use the brush to select the area you want to remove/blend and wait for Photoshop to do it’s processing.
You have three options to select from: Content-Aware, Create Texture and Proximity Match. They all have their own merits but I found the use of Create Texture the least productive as it attempts to repair and blend using a texture pattern.
Using Content-Aware or Proximity Match both worked well for me in this instance but Content-Aware had a slight edge in staying true to the overall image (I think it analyses more of the image) although the differences in the two were marginal, I’d suggest you experiment with both to see the results that work best for your particular image as it will vary.*

SAY NO TO PHOTOSHOP
So what do you do if you don’t have Photoshop and just a phone? You can download the app created by Google, Snapseed. It’s an impressive free photo editing app available on both iOS and Android. Along with the ability to make basic adjustments, it also has a healing brush tool although there’s only the one option so at least there’s less to remember!
And then there’s the other even simpler method of cropping out! In the image above, I cropped first and then used the spot healing brush to remove the lens flare.
Remember though that just because it’s not intended or due to the quality of your lens, doesn’t mean that it’s a bad thing. Sometimes a lens flare is exactly what you need.
https://www.instagram.com/p/BP7L9XCg6a3/
*From what I understand, Proximity Match takes the surrounding pixels and blends them whereas Content-Aware recreates a texture based on the surrounding pixels rather than blend them. Please correct me if I’m wrong!


Facebook Comments